In the realm of interior design, creativity knows no bounds. With the advent of laser technology, DIY enthusiasts now have access to tools that can transform ordinary spaces into extraordinary showcases of personalized artistry. Laser technology, encompassing laser cutting, engraving, and etching, offers precision and versatility that can elevate your home decor projects to professional levels. Whether you’re a seasoned DIYer or just starting, these 10 creative projects will inspire you to harness the power of lasers to beautify your living space.
Tips for Getting Started with Laser DIY Projects:
1. Safety First: Always follow safety guidelines when operating laser equipment. Wear appropriate protective gear and work in a well-ventilated area.
2. Learn the Basics: Familiarize yourself with the laser cutter or engraver by practicing on scrap materials before starting your main project.
3. Experiment with Designs: Don’t be afraid to try different patterns and styles. The versatility of laser technology allows for endless creativity.
4. Invest in Quality Software: Use robust design software that can handle the precision required for laser projects, ensuring high-quality outcomes.
5. Plan Your Projects: Carefully plan each step of your project, from design to assembly, to ensure a smooth and successful creation process.
By incorporating these tips and exploring the diverse range of projects, you can unlock the full potential of laser technology in your DIY interior decor endeavors, transforming your home into a personalized masterpiece.
1. Laser-Cut Wall Art
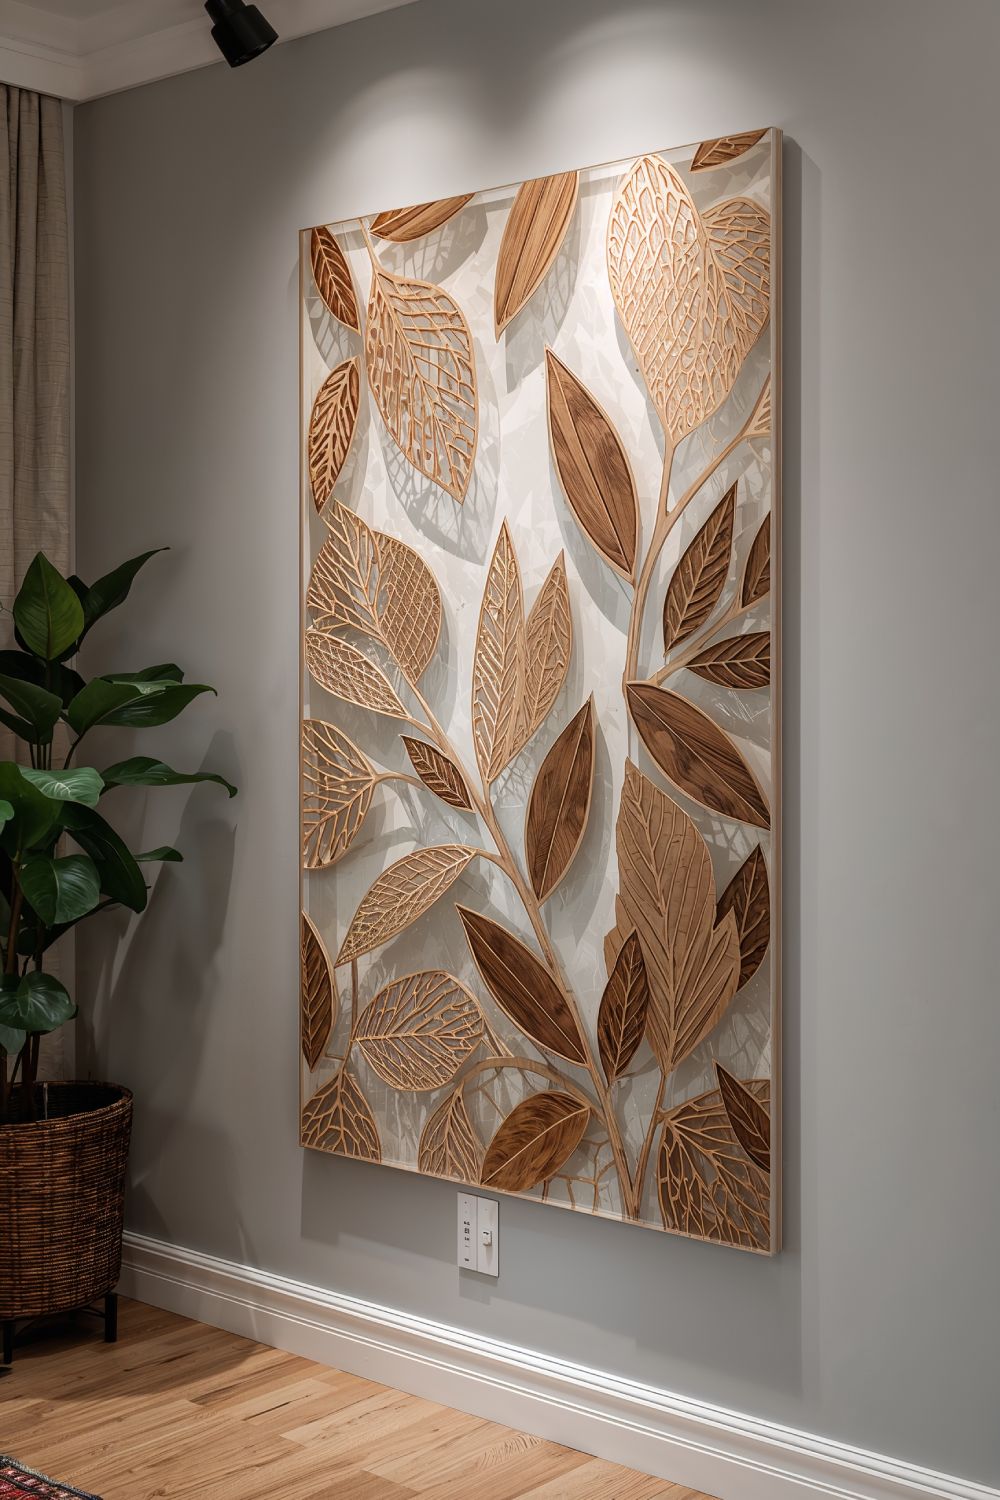
Materials Needed: Acrylic sheets, wooden panels, laser cutter, design software.
Project Overview: Create stunning wall art by laser-cutting intricate patterns or personalized designs onto acrylic or wooden panels. The precision of laser cutters allows for detailed designs that would be challenging to achieve by hand.
Steps:
1. Design: Use design software like Adobe Illustrator or CorelDRAW to create your artwork. Consider geometric patterns, botanical designs, or even personalized quotes.
2. Material Selection: Choose between acrylic for a modern, colorful look or wood for a rustic, warm feel.
3. Cutting: Use the laser cutter to meticulously cut your design onto the chosen material.
4. Finishing: Assemble multiple panels if desired, and mount them on your wall using appropriate hardware.
Benefits: Personalized wall art adds a unique touch to your home, allowing you to showcase your style and creativity. Laser-cut pieces are also lightweight and easy to install.
2. Laser-Engraved Mirrors
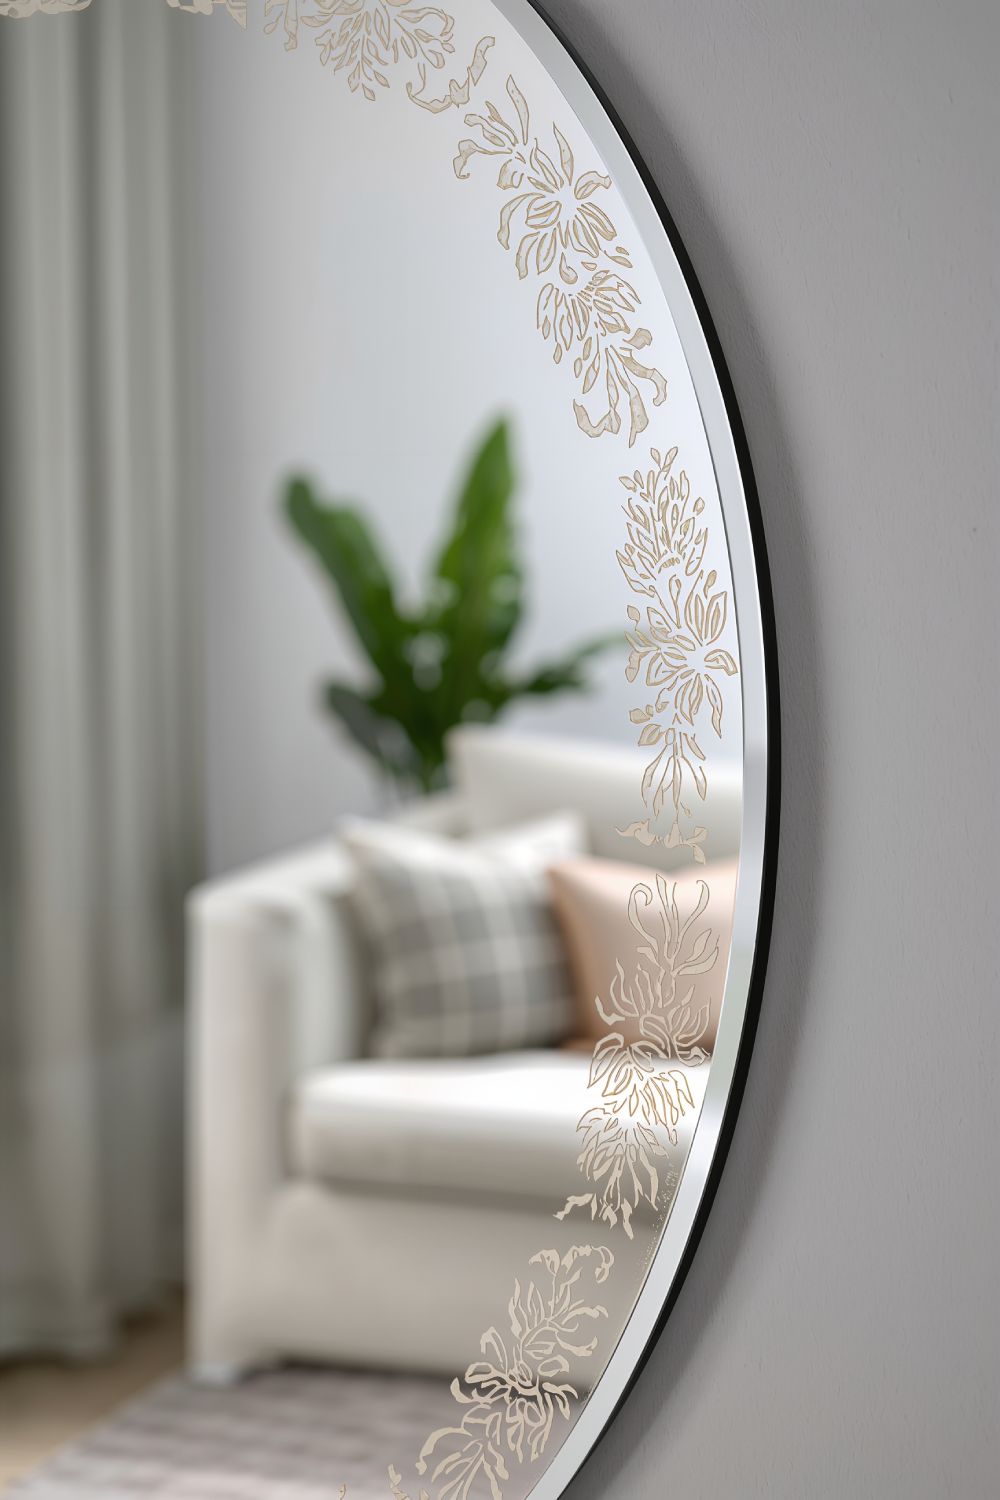
Materials Needed: Mirrors, laser engraving machine, masking tape, design software.
Project Overview: Enhance plain mirrors by laser-engraving decorative patterns or monograms around the edges or in the center, creating a striking focal point in any room.
Steps:
1. Preparation: Apply masking tape to the area of the mirror where you plan to engrave to protect the surface.
2. Design: Create your desired pattern or text in design software.
3. Engraving: Use the laser engraver to meticulously etch the design onto the mirror.
4. Cleaning: Remove the masking tape and clean the mirror to reveal the engraved design.
Benefits: Custom-engraved mirrors serve as both functional and decorative pieces, adding elegance and personalization to your space without a hefty price tag.
3. Laser-Cut Lampshades
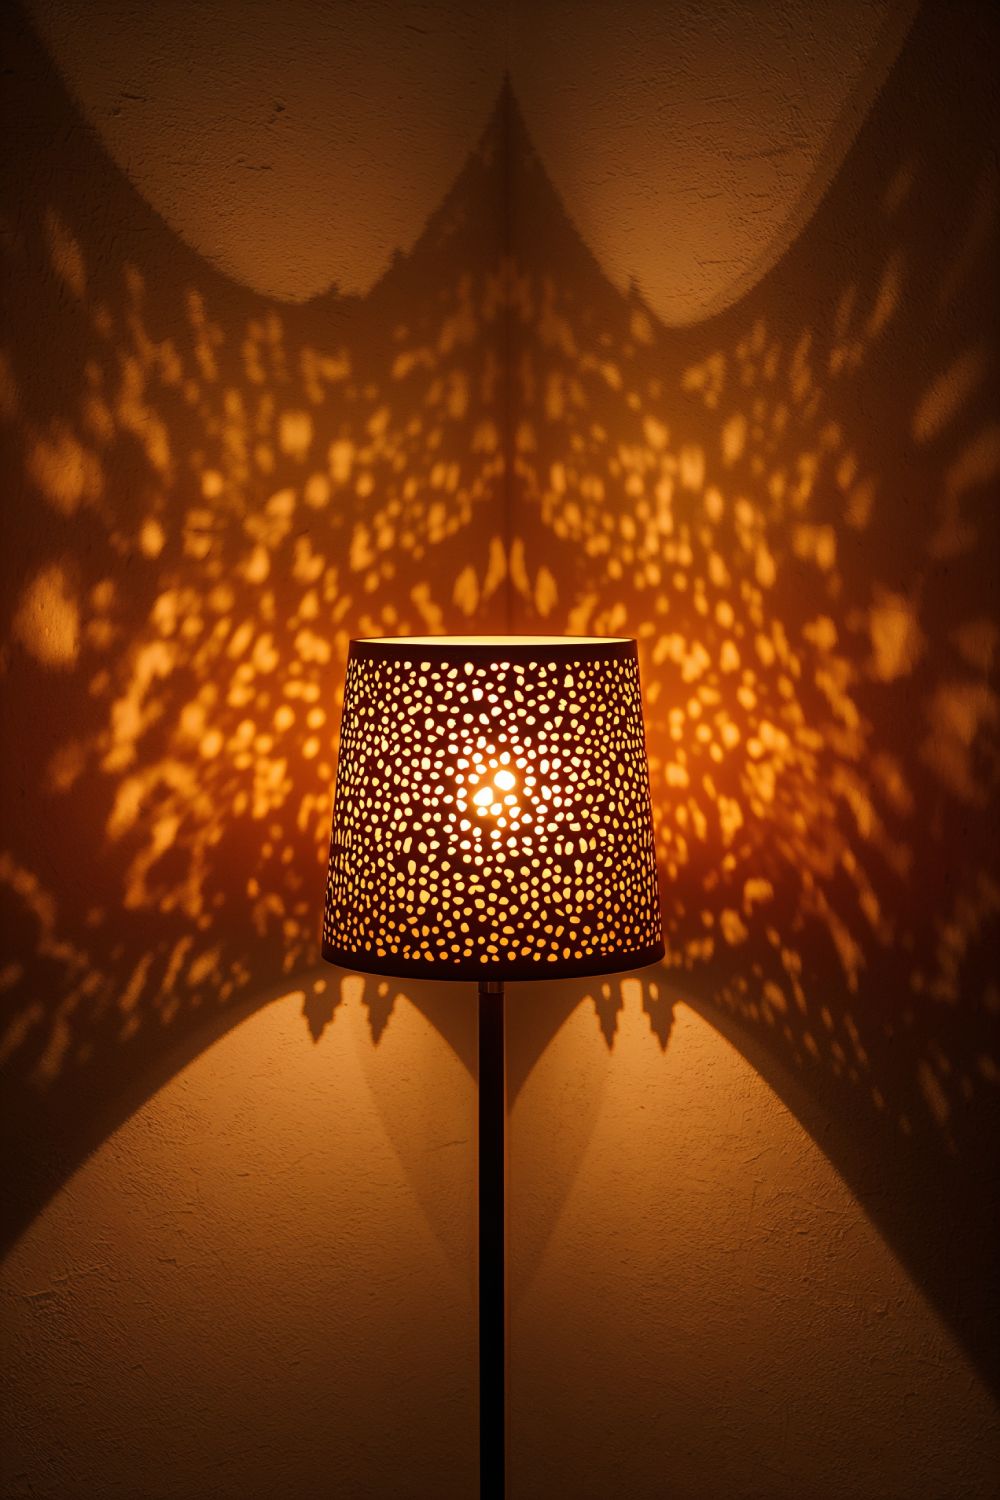
Materials Needed: Paper or thin wood sheets, laser cutter, lamp kits, design software.
Project Overview: Design and create unique lampshades by laser-cutting patterns that cast beautiful shadows and light effects when the lamp is in use.
Steps:
1. Design: Develop a pattern that complements your room’s aesthetic. Delicate patterns work well for creating intricate light effects.
2. Material Choice: Select a material that complements your existing decor—paper for a soft glow or thin wood for a warmer, earthy tone.
3. Cutting: Use the laser cutter to precisely cut your design onto the chosen material.
4. Assembly: Attach the cut pieces to lamp kits, ensuring all electrical components are safely integrated.
Benefits: Custom lampshades not only illuminate a room but also serve as artistic statements, enhancing the ambiance with tailored light and shadow play.
4. Laser-Cut Wooden Furniture Accents
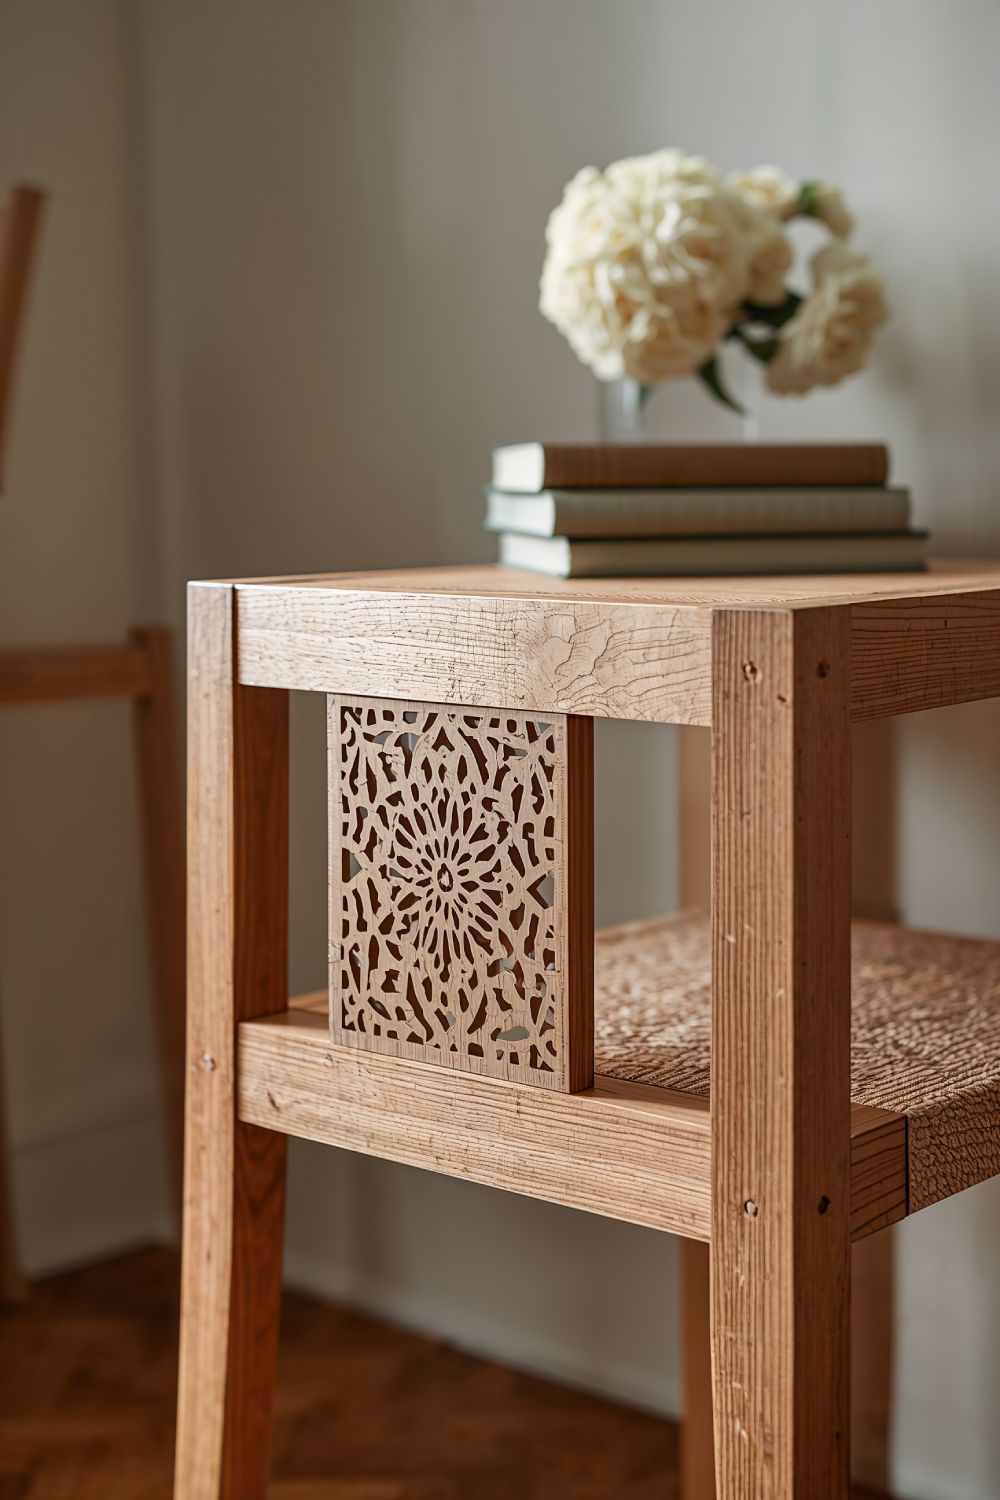
Materials Needed: Wooden furniture pieces, laser cutter, design software, sandpaper, finish (stain or paint).
Project Overview: Add intricate, laser-cut accents to existing wooden furniture to give it a bespoke and personalized touch.
Steps:
1. Design: Create patterns or motifs that complement your furniture’s style, such as floral designs for a vintage chair or geometric patterns for a modern table.
2. Cutting: Laser-cut the design onto thin plywood or MDF sheets.
3. Finishing: Sand the edges smooth and apply a finish to match your furniture.
4. Attachment: Carefully attach the cut pieces to the furniture using adhesive or small screws, ensuring a seamless integration.
Benefits: Personalized accents can transform ordinary furniture into conversation pieces, reflecting your unique taste and enhancing the overall aesthetic of your home.
5. Laser-Engraved Photo Panels
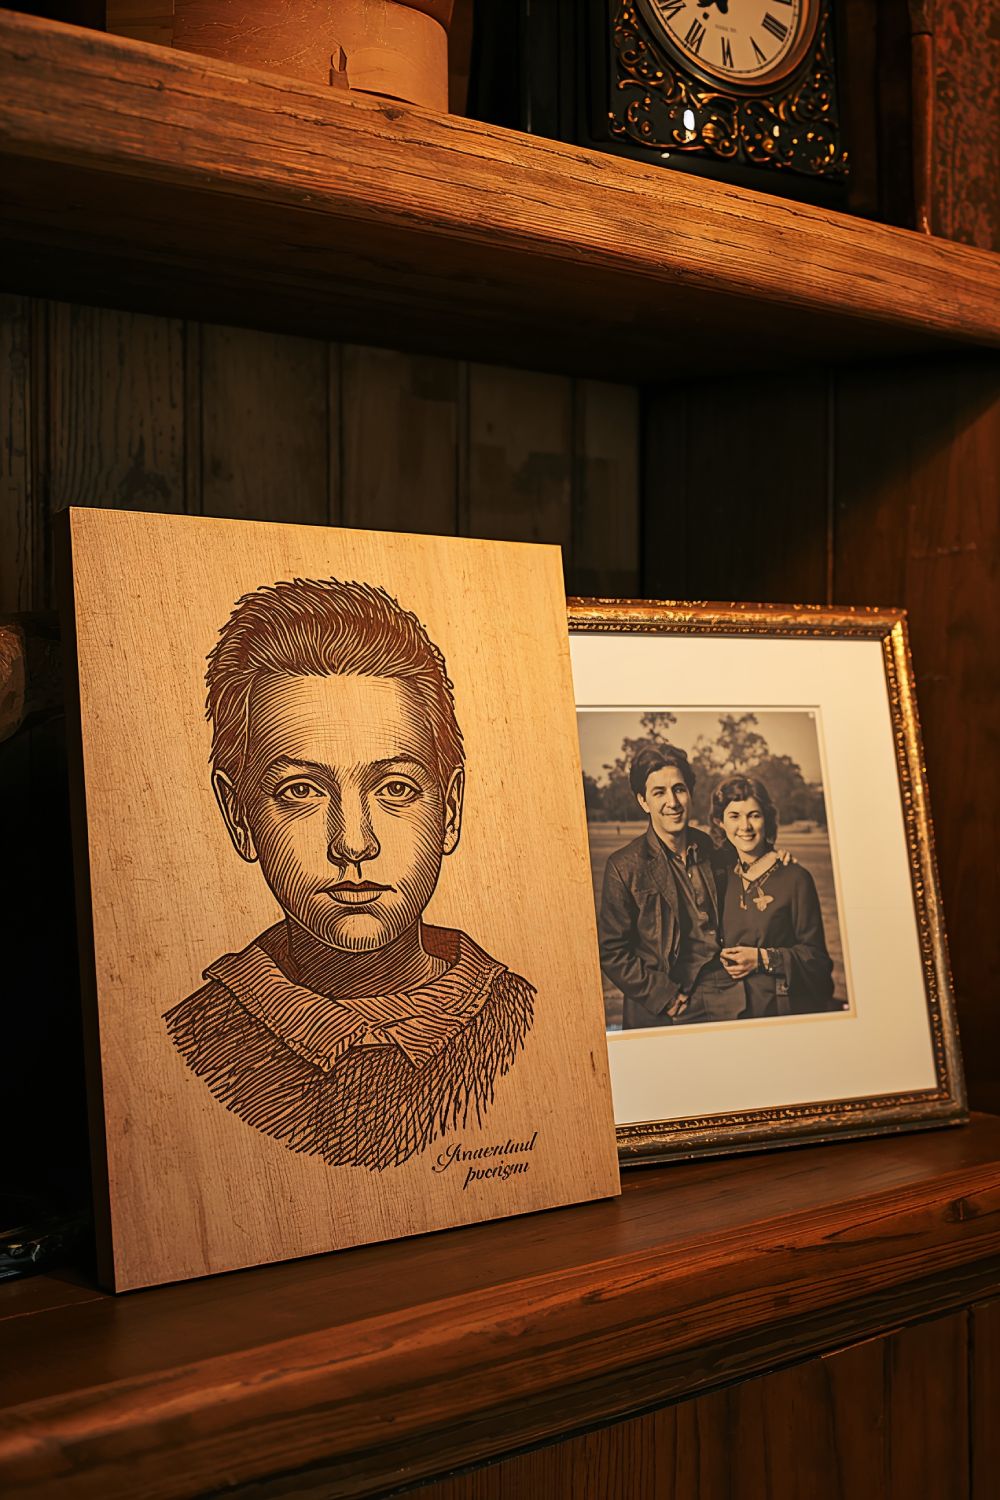
Materials Needed: Wooden or acrylic panels, laser engraving machine, high-resolution photos, design software.
Project Overview: Turn your favorite photos into engraved masterpieces on wood or acrylic, adding a personal and artistic touch to your decor.
Steps:
1. Photo Selection: Choose high-resolution images that translate well into monochromatic engravings.
2. Design Preparation: Convert your photo into a suitable format for engraving, adjusting contrast and brightness as needed.
3. Engraving: Use the laser engraver to etch the image onto the chosen material.
4. Framing: Mount the engraved panels on frames or display stands to enhance their presentation.
Benefits: These personalized photo panels serve as meaningful decorations, preserving memories in a stylish and enduring format.
6. Laser-Cut Decorative Screens
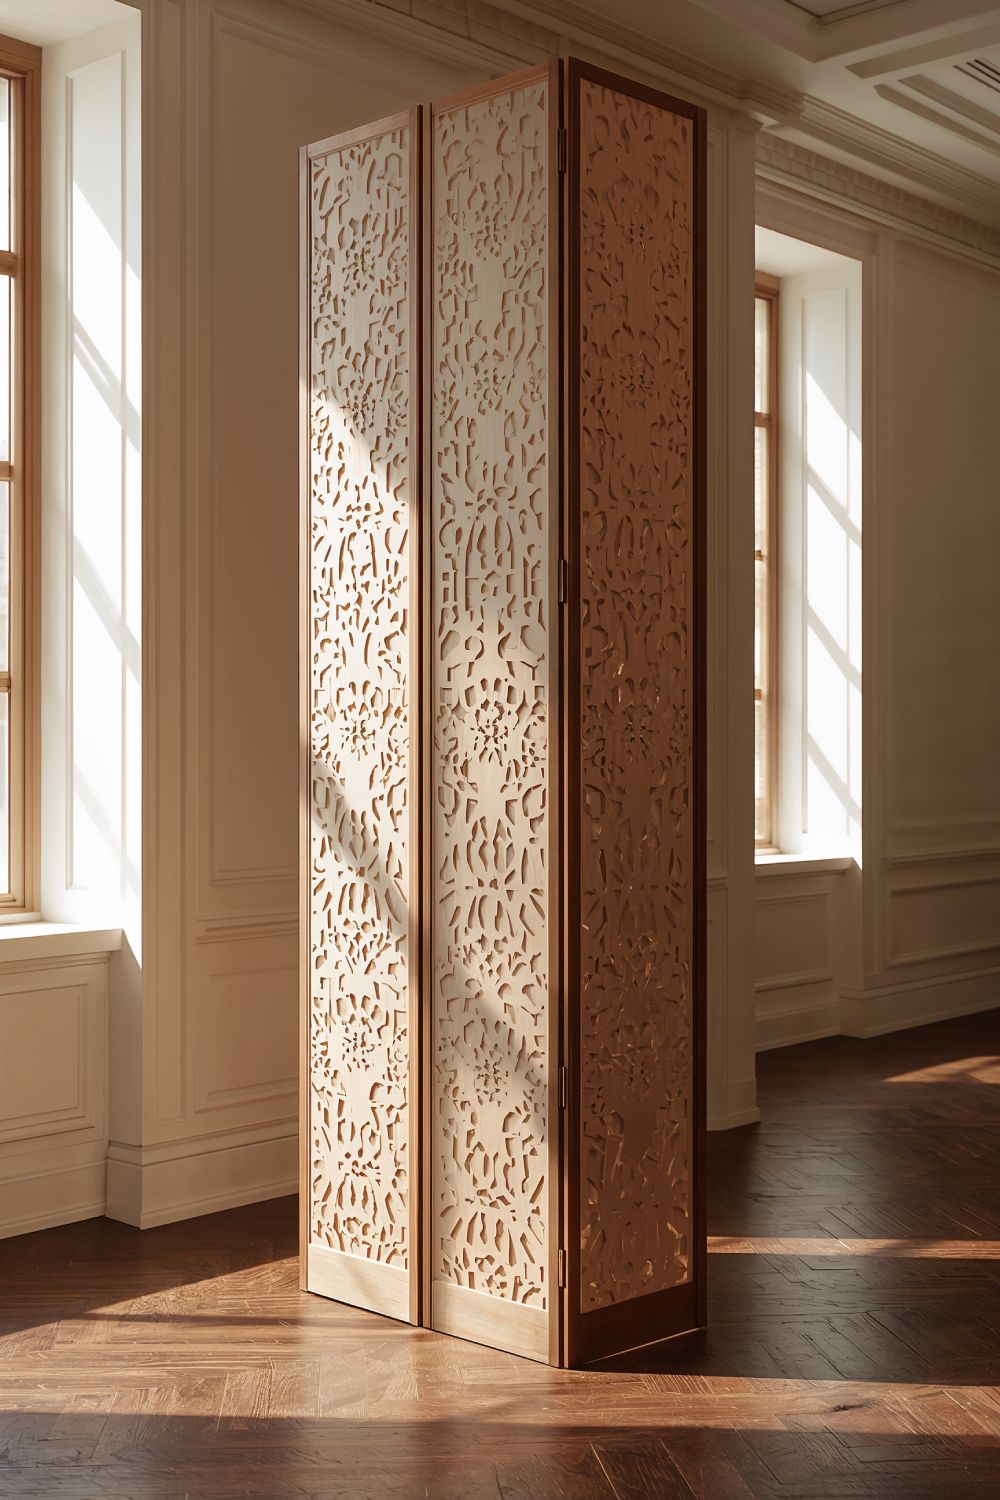
Materials Needed: Plywood or acrylic sheets, laser cutter, hinges or stands, design software.
Project Overview: Create decorative room dividers or screens with intricate laser-cut designs that add privacy and aesthetic appeal to your living spaces.
Steps:
1. Design: Develop a pattern that complements your room’s decor, ensuring it allows light to pass through while providing some level of privacy.
2. Material Selection: Choose sturdy materials like plywood for durability or acrylic for a lighter, more modern look.
3. Cutting: Laser-cut the design onto the chosen material, creating multiple panels that can be assembled into a screen.
4. Assembly: Attach panels using hinges or design a freestanding stand to hold the screen in place.
Benefits: Decorative screens can define spaces in open-plan homes, add artistic flair, and serve functional purposes without overwhelming the room.
7. Laser-Cut Plant Holders
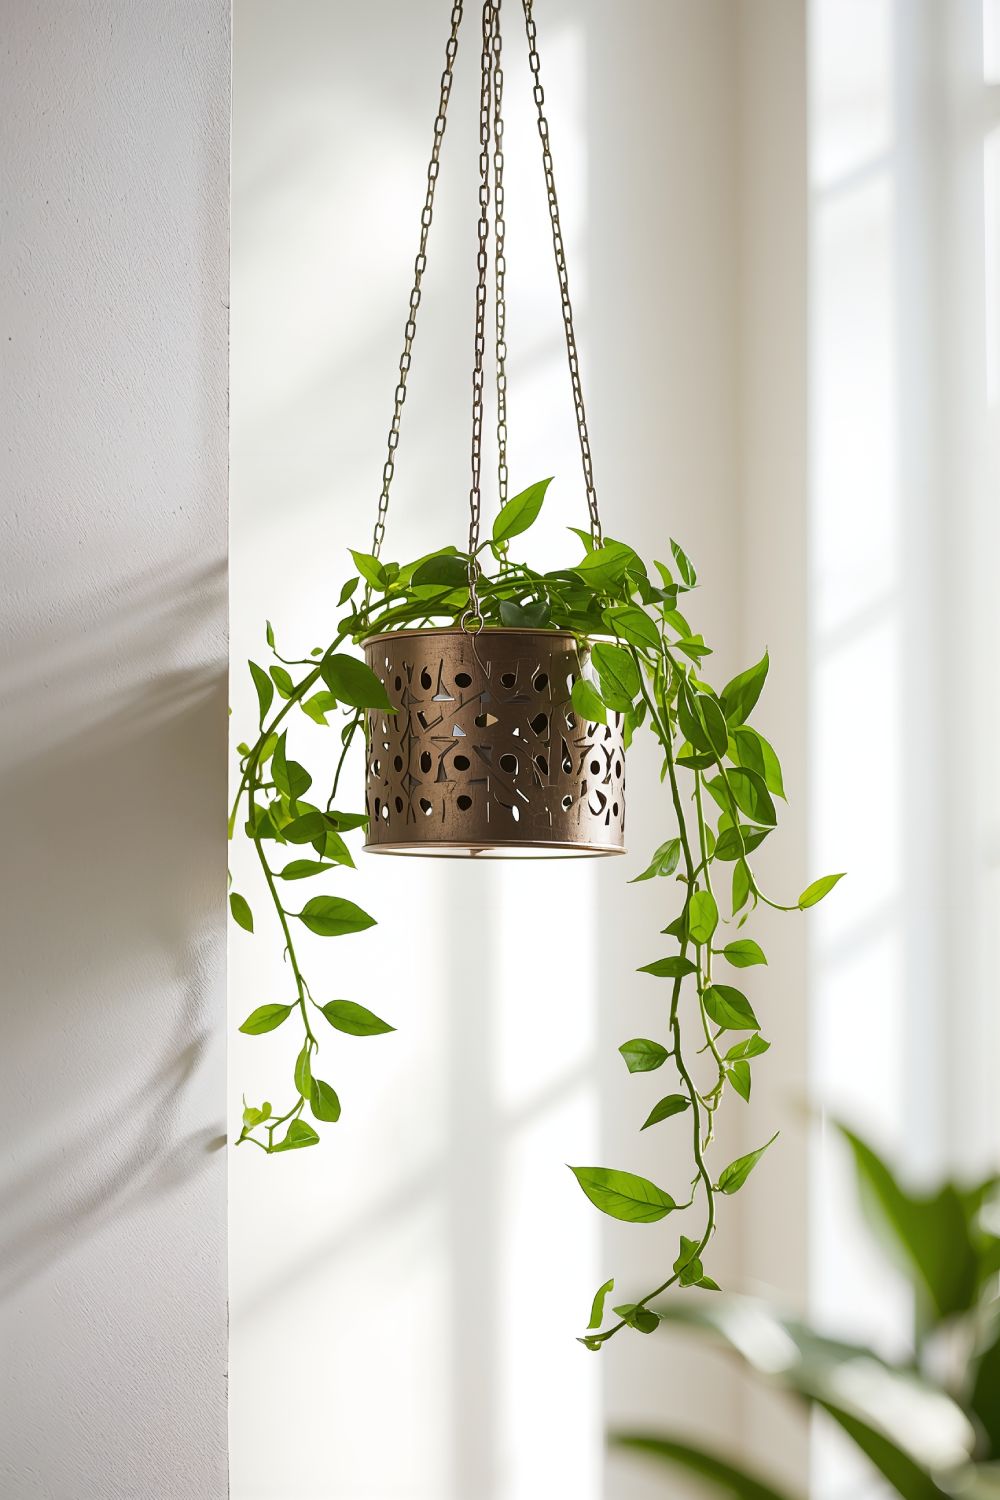
Materials Needed: Metal sheets, laser cutter, welding tools (optional), design software, hooks or stands.
Project Overview: Design and craft unique plant holders by laser-cutting metal sheets into creative shapes and patterns, perfect for both indoor and outdoor plants.
Steps:
1. Design: Create patterns that allow for drainage and air flow, ensuring the health of your plants. Geometric shapes, natural motifs, or minimalist designs can be explored.
2. Cutting: Use the laser cutter to precisely cut the designs from metal sheets.
3. Finishing: Smooth any rough edges and apply a protective coating to prevent rust if the holders will be used outdoors.
4. Assembly: Assemble the pieces, attaching hooks or stands to mount the holders on walls or place them on surfaces.
Benefits: Custom plant holders add greenery to your home in a stylish and personalized manner, enhancing the overall ambiance with natural elements.
8. Laser-Engraved Glassware and Coasters
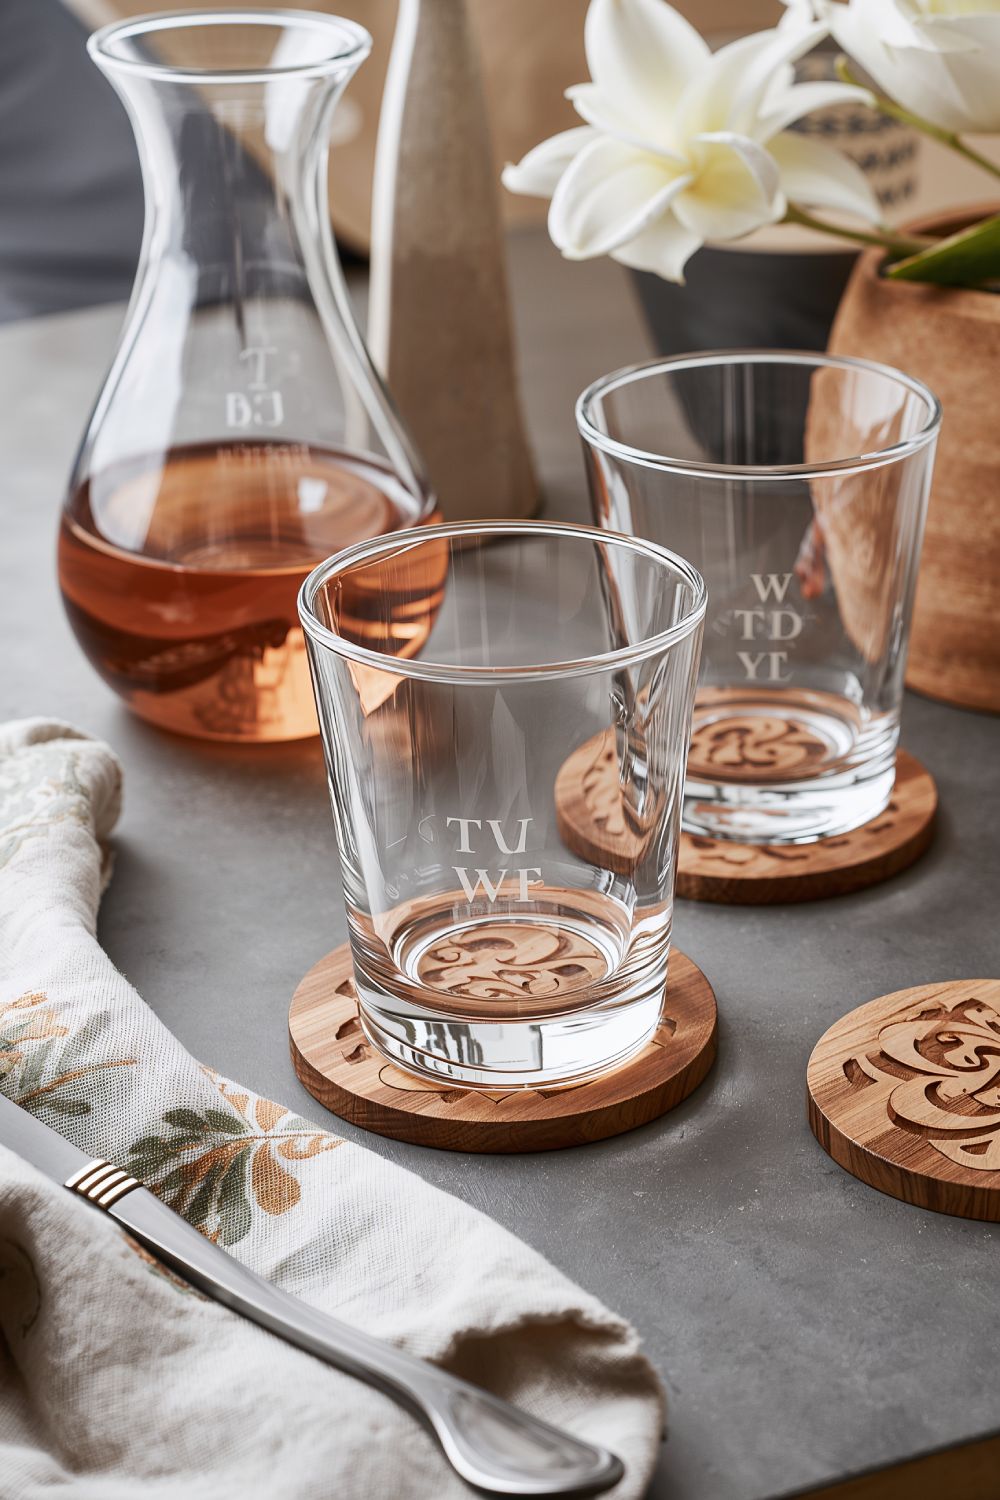
Materials Needed: Glassware (glasses, vases), coaster materials (wood, cork, acrylic), laser engraving machine, design software.
Project Overview: Personalize your glassware and coasters by laser engraving them with patterns, monograms, or custom artwork, making them perfect for everyday use or special occasions.
Steps:
1. Design: Create intricate designs or personalized text using design software.
2. Engraving: Place the glassware or coaster material into the laser engraver and carefully engrave the design.
3. Finishing: Clean the engraved items to remove any residue and ensure clarity of the design.
4. Usage: Use the personalized items in your daily routine or as unique gifts for friends and family.
Benefits: Engraved glassware and coasters add a touch of elegance and personalization to your home, making everyday items feel special and unique.
9. Laser-Cut Shelving
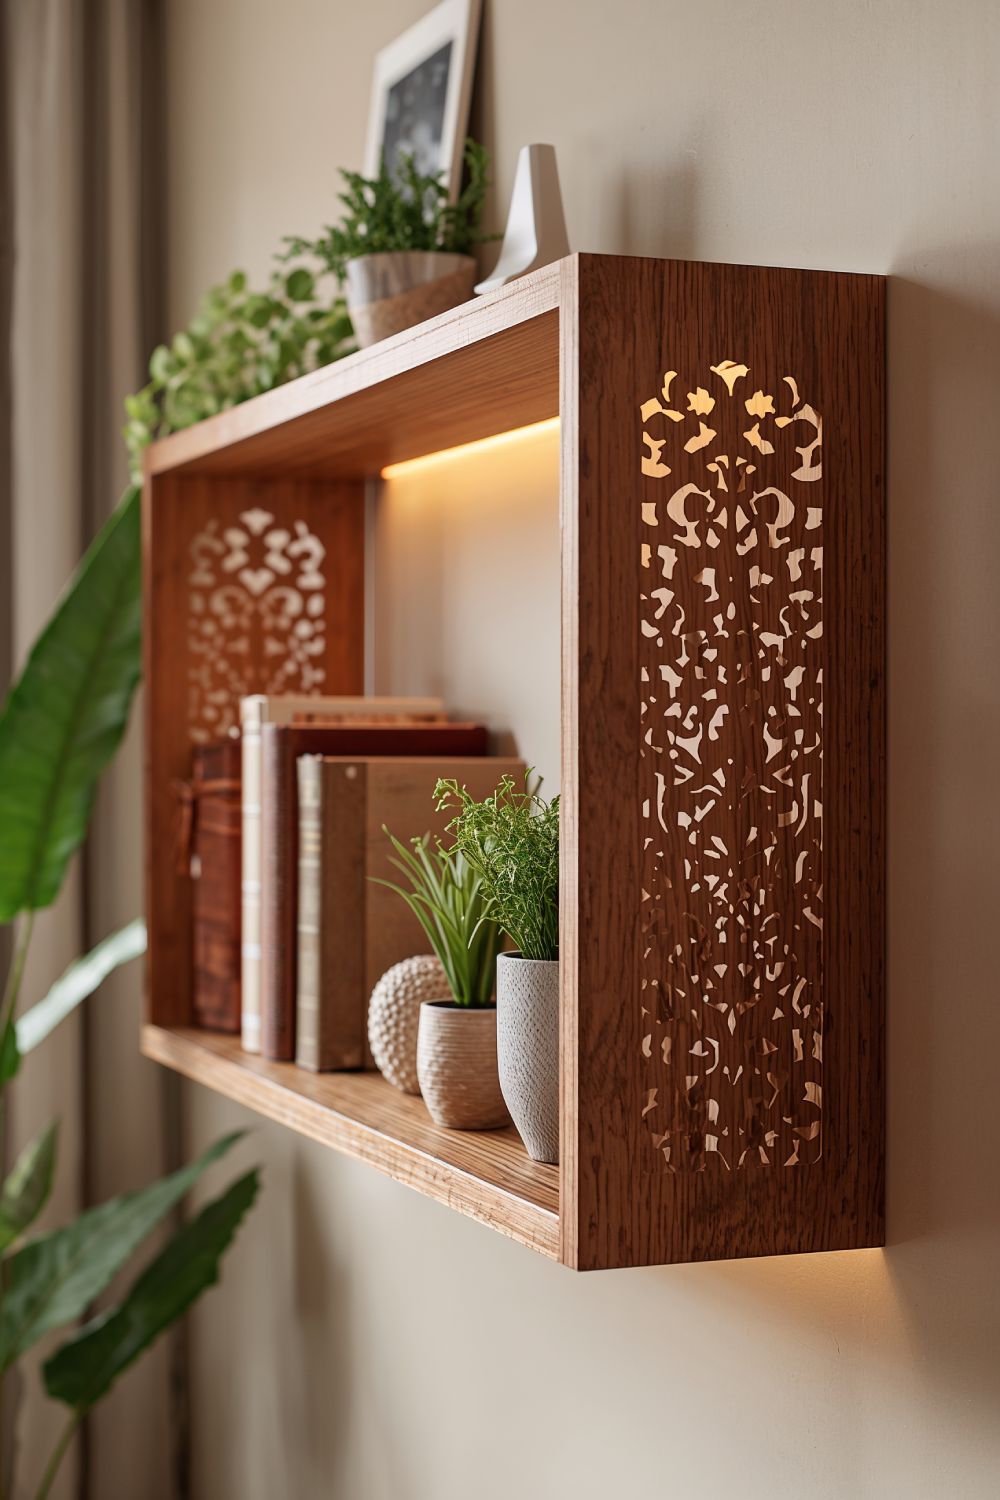
Materials Needed: Plywood or MDF boards, laser cutter, brackets or mounting hardware, design software.
Project Overview: Design and create custom shelving units with laser-cut patterns that add both functionality and artistic flair to your home.
Steps:
1. Design: Plan the dimensions and patterns for your shelves, considering both aesthetic and structural integrity.
2. Cutting: Use the laser cutter to cut the shelving pieces from plywood or MDF, incorporating decorative elements like patterns or shapes.
3. Assembly: Assemble the shelves, attaching brackets or using wall-mounting hardware as per your design.
4. Installation: Mount the shelving units on walls, ensuring they are securely fastened and level.
Benefits: Custom laser-cut shelves provide a unique storage solution that doubles as artwork, enhancing the visual appeal of any room while keeping it organized.
10. Laser-Engraved Decorative Tiles
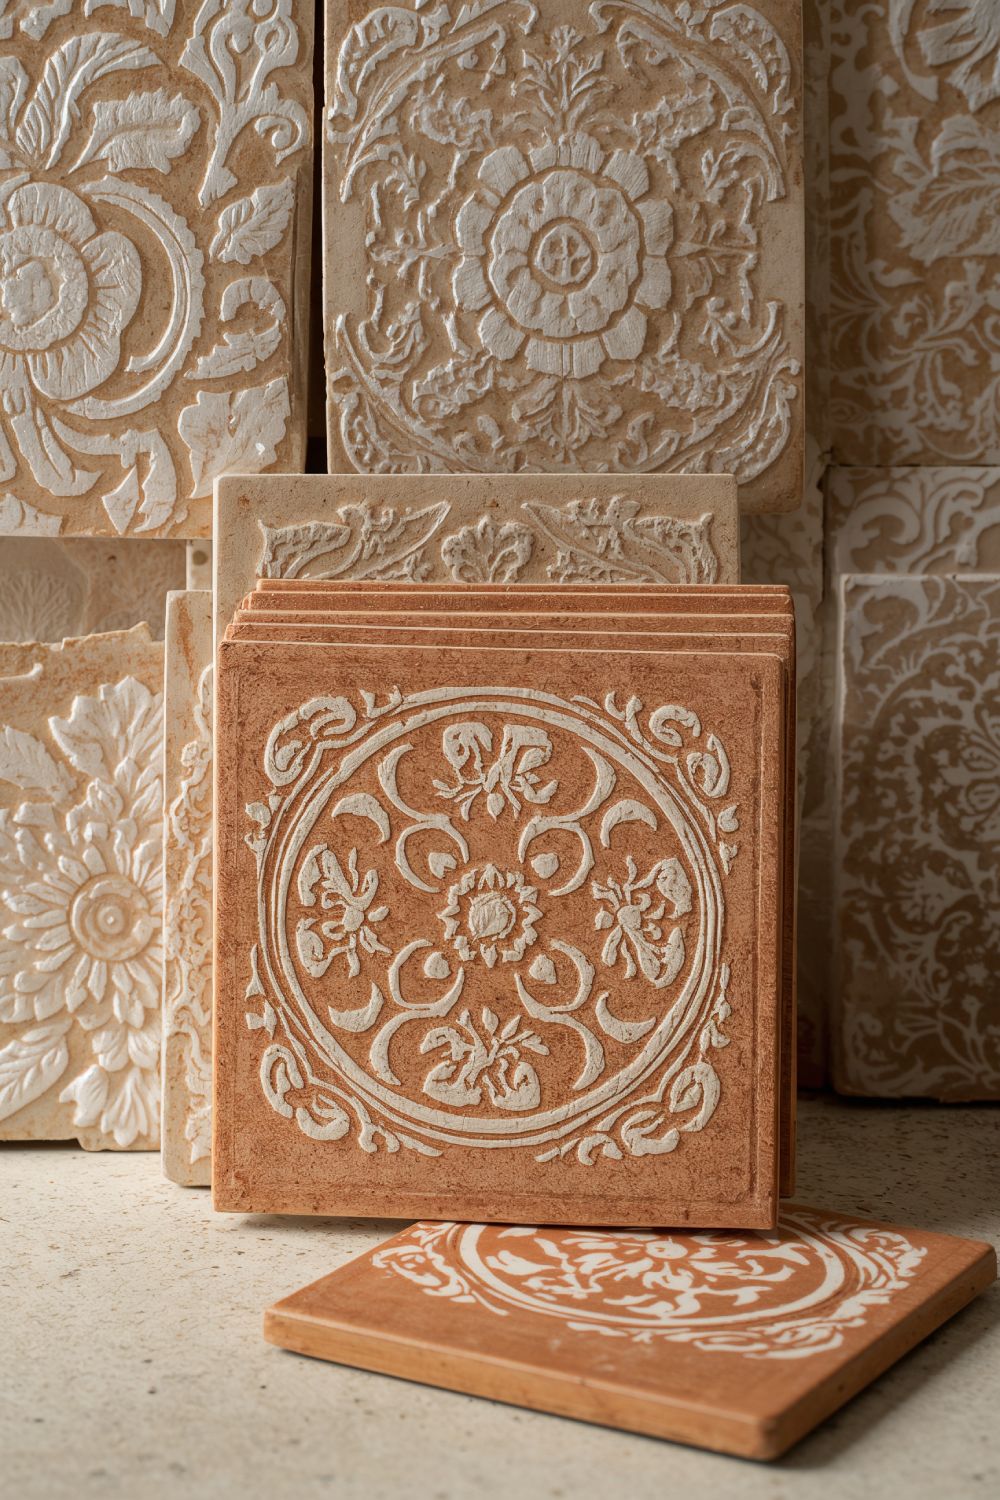
Materials Needed: Ceramic or wooden tiles, laser engraving machine, design software, grout and tile adhesive (optional).
Project Overview: Personalize your space with decorative tiles engraved with designs, patterns, or messages. These tiles can be used as coasters, wall decorations, or incorporated into backsplashes.
Steps:
1. Design: Create a pattern, quote, or image suitable for engraving onto a tile.
2. Engraving: Place the tiles in the laser engraver and carefully etch the design onto their surface.
3. Finishing: Clean the tiles to highlight the engraved design. For wall installations, apply grout and tile adhesive as needed.
4. Installation: Use the decorative tiles as desired, whether as standalone pieces or part of a larger arrangement.
Benefits: Engraved tiles offer versatile decorating options, allowing you to add personalized touches to various areas of your home with ease.
Conclusion
Laser technology has opened up a world of possibilities for DIY interior decor, enabling enthusiasts to create precise, intricate, and personalized pieces that elevate their living spaces. From stunning wall art and elegant mirrors to functional plant holders and bespoke shelving, the integration of lasers in home projects offers both aesthetic and practical benefits. Embracing these 10 creative DIY projects not only enhances the beauty of your home but also provides a rewarding and fulfilling creative outlet. Whether you’re looking to infuse your space with your personal style or seeking unique gift ideas, laser-based DIY decor projects are a perfect blend of technology and artistry, paving the way for endless creative expression in interior design.

